Table of Contents
Intro
In the last post, you learned how to type the thoughts in your head into specific prompts. In this post, we’re going to take it to the real world and show you how to create portraits, mockups, and more. The goal of this series is to get you up and running with Midjourney in a very simple way, so we’ll save the more complicated parameters for a later post.
Midjourney Prompts – Portrait
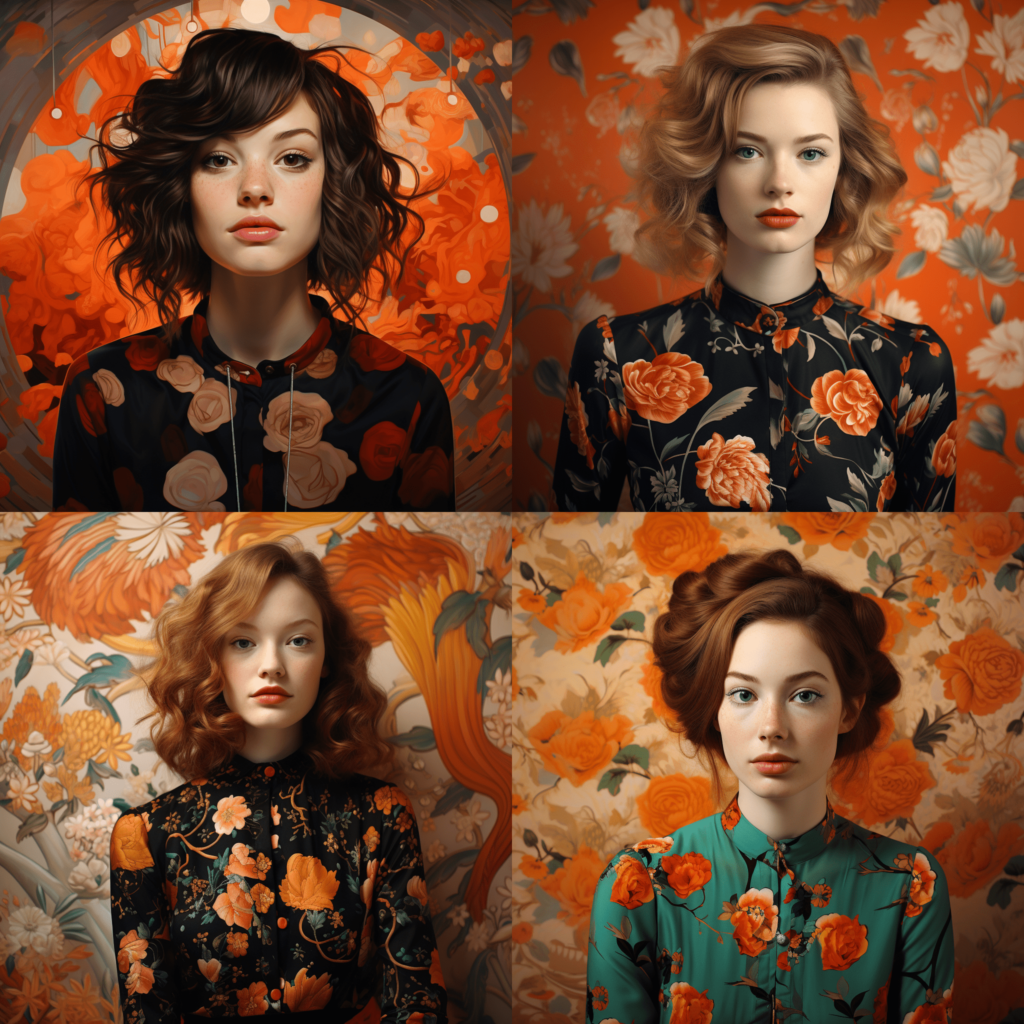
When creating a character in Midjourney, the most basic type of character created is a Portrait. You don’t need to type the prompt “Portrait” to have it appear. However, if you want to get a portrait image, you will need to type in Portrait, as other styles may appear if you do not type in the prompt.
If you want to get a side view of the person instead of a frontal view, you can type “Profile” in the prompt.
If you want to get a proper full body shot, make sure to type –ar 9:16 at the end of the prompt, as full body shots typically require a long image from head to toe and up and down, so 9:16 is appropriate. If you’re using the full body shot prompt and you’re not getting the right result, you can add a description of pants or shoes to the prompt to force it to generate an image down to the lower body.
Midjourney Prompts – Photography
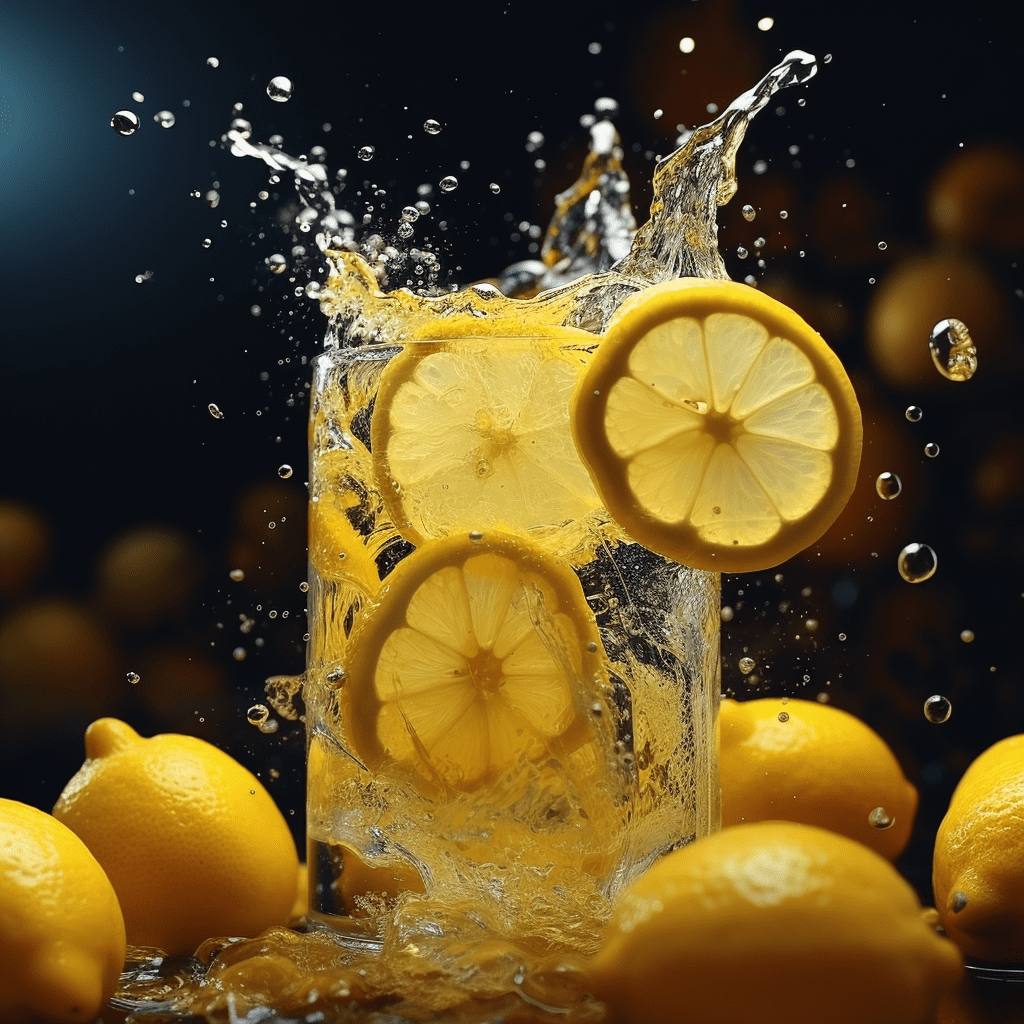
The only prompt you need to know to create a realistic photo with Midjourney is the Photography. Just put Photography at the end of the prompt and you’ll get a photo that looks like it was taken with a real camera. You can get an infinite number of photorealistic photos this way.
Examples of Utilization
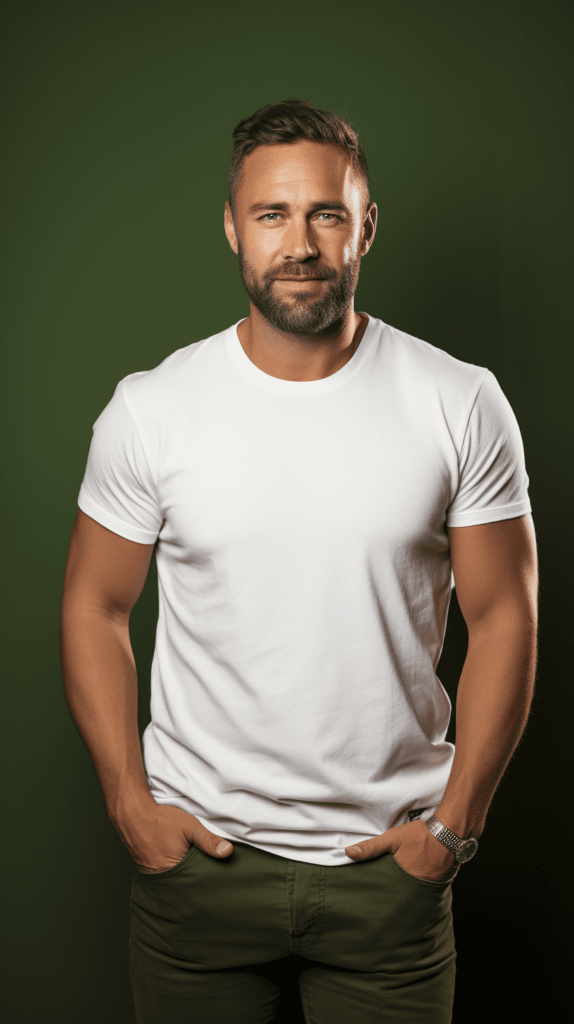
Let’s use this as an example of how you might use Midjourney: Let’s say you work for a clothing company. Whenever you release new clothes, you often need to dress models in them and photograph them, but it’s hard to find models, time-consuming, and most importantly, expensive. In this case, creating a virtual model in Midjourney and then compositing the clothing design is a very simple solution. If you’ve created a t-shirt, you can write White blank tshirt and it will generate a photo of a model wearing a white t-shirt with nothing on it. You can then use Photoshop to composite clothes over the white t-shirt.
One thing to note here is that by default, the background behind the model is randomly generated, so if you want a studio shot of the model, you’ll need to write single color background to ensure that it’s a single color background. If you have a specific background in mind, you can use words to describe it.
Discover More
If this article made you happy and taught you something, I’m sure our next article will do the same for you. Each piece is carefully written to help you understand things better and enjoy reading more. So, to keep exploring and having fun, just click on this link to go to our next story.
Stylize in Midjourney: Turning Text into Artistic Imagery – ReViewMaster DEN (rvmden.com)